choosing colors for blending
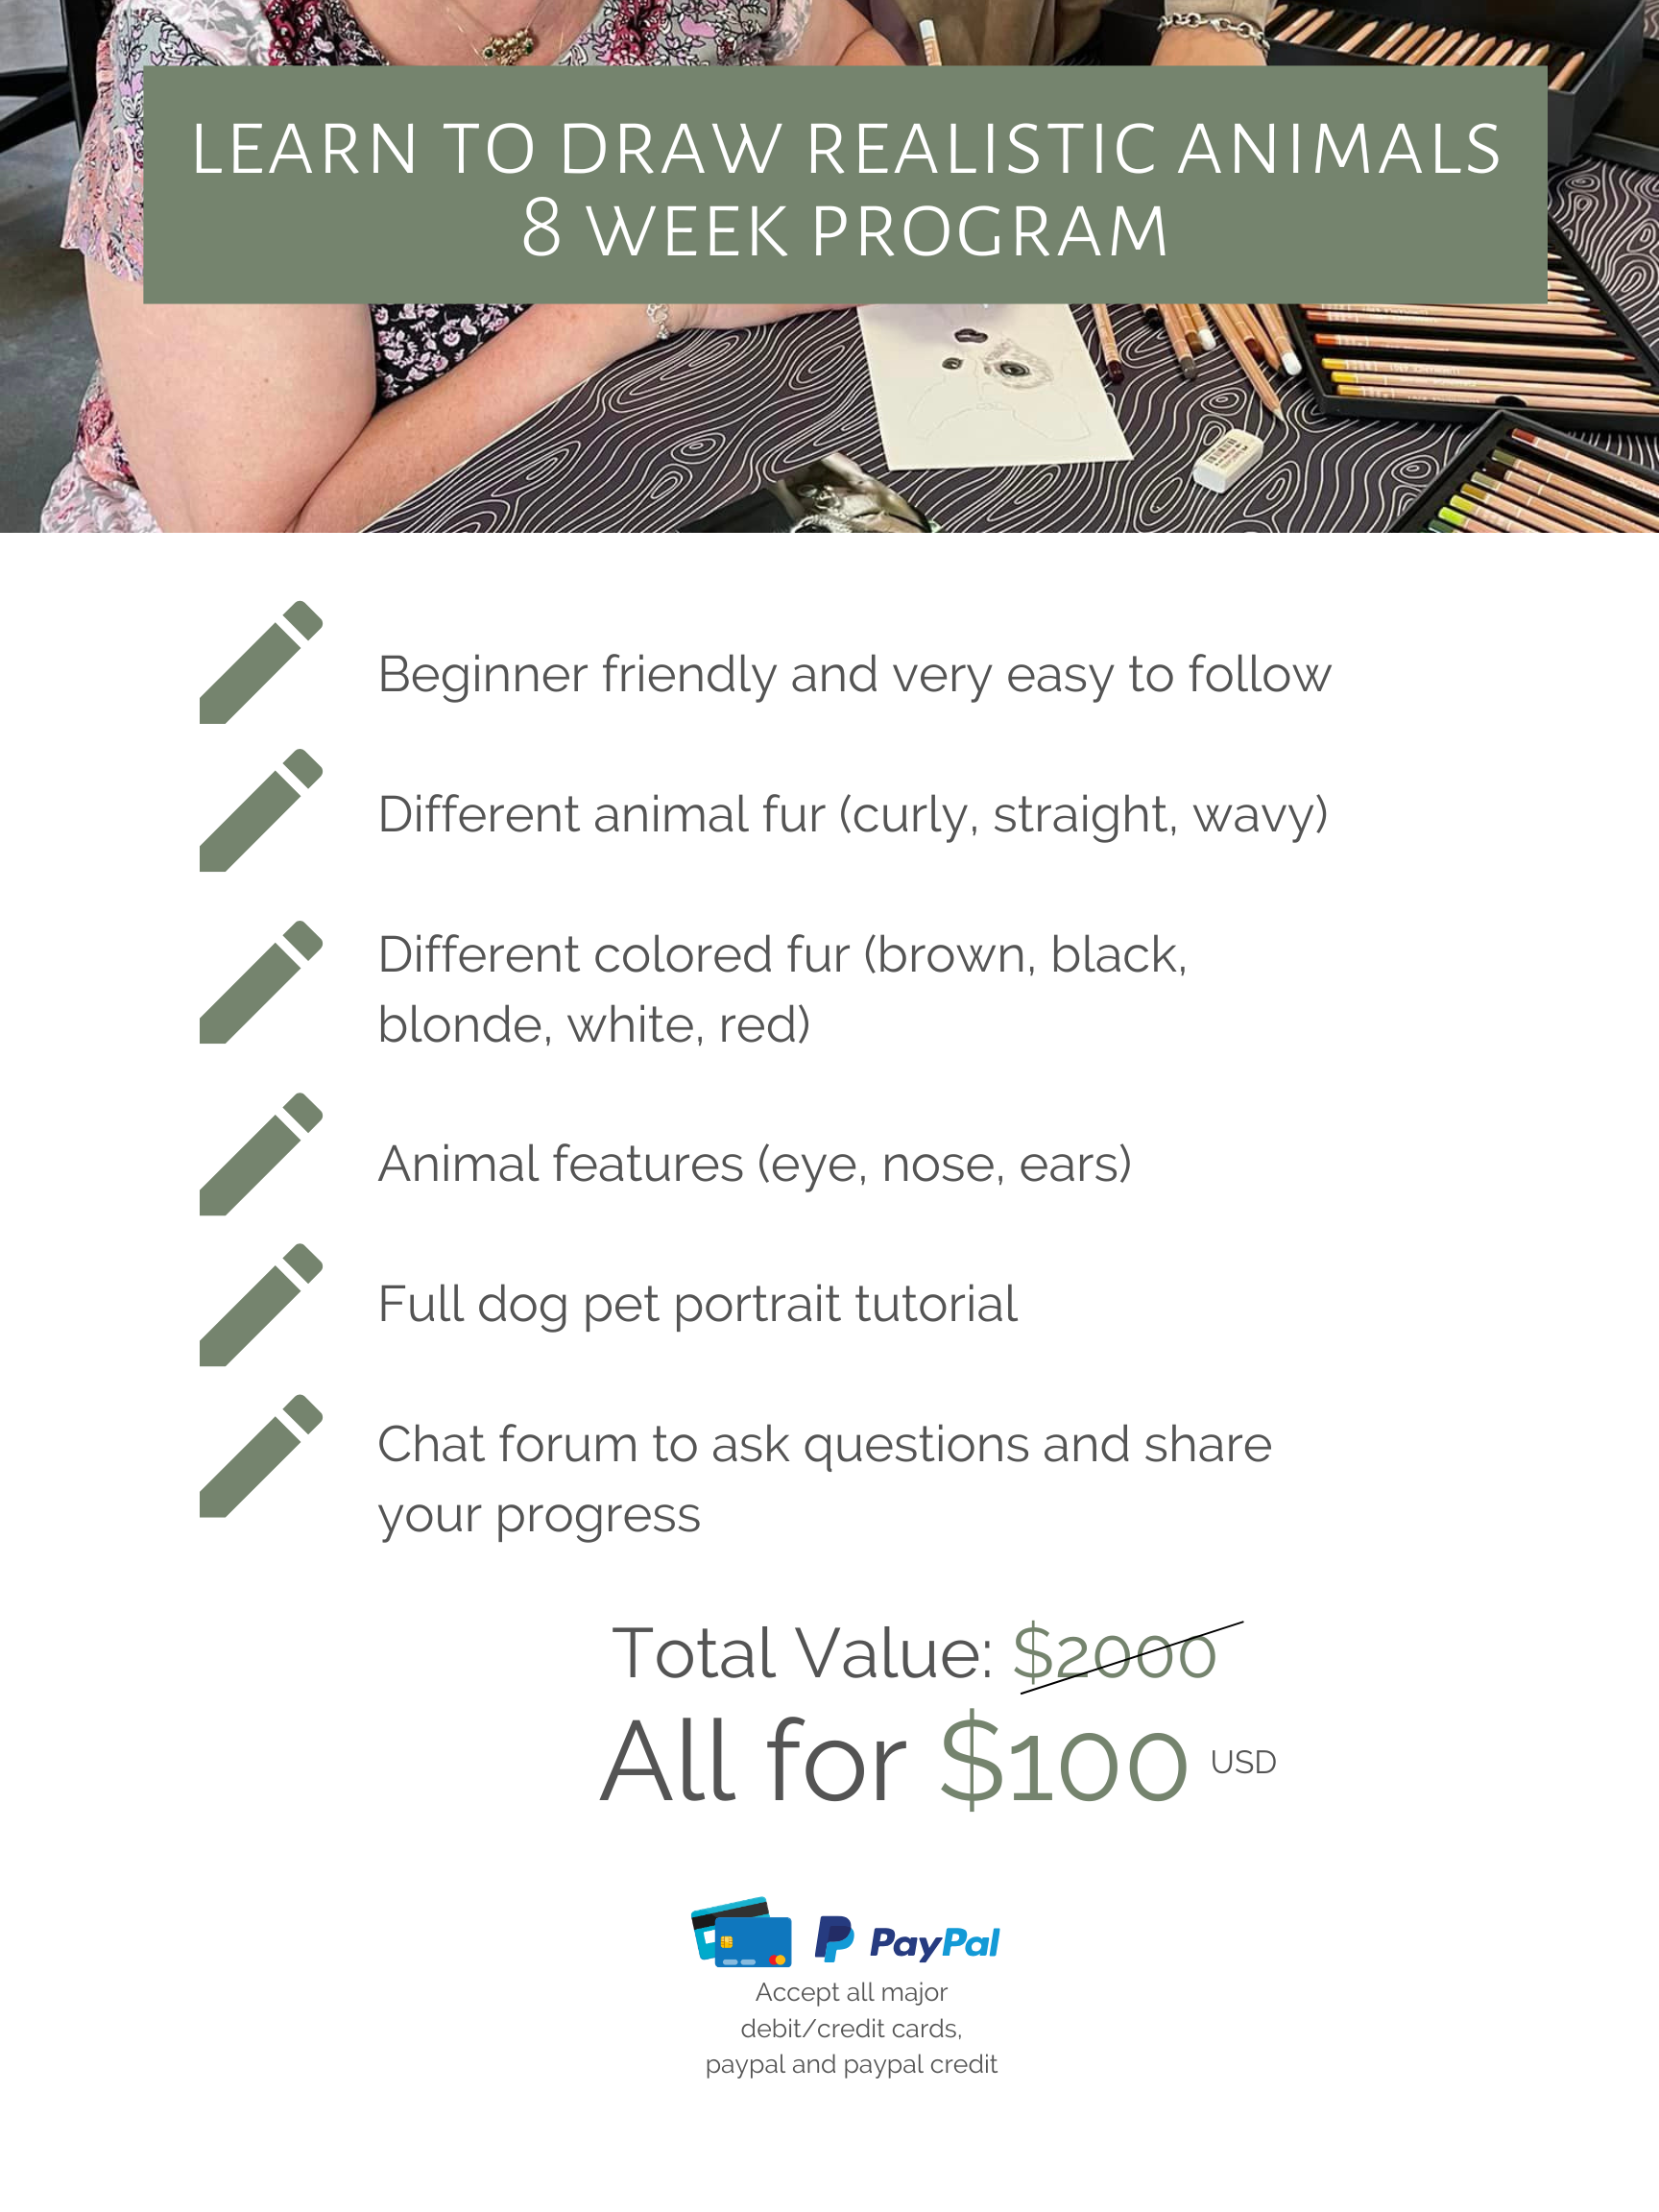
Drawing wildlife with colored pencils is all about color, layering, and gradual detail. Using a wide range of colors—rather than sticking to one “base”—adds depth, realism, and life to your animals. Pair this with a thoughtful layering process and blending with mineral spirits, and your drawings will glow.
Step 1: Choose a Wide Range of Colors
Instead of limiting yourself to just one base color per area, gather a large palette for subtle shifts in tone. For example:
Fur can include reds, oranges, browns, yellows, cream, and even small hints of blue or purple in the shadows.
Feathers might combine blues, greens, grays, and soft highlights.
Look closely at your reference and notice tiny variations in hue—even shadows often have unexpected colors. Using a variety of colors keeps your wildlife drawing vibrant and realistic.

Step 2: First Layer – Light, Broad Application
Start with light strokes of your main base colors, covering large areas roughly. Don’t worry about details yet; the goal is to establish the general color zones. Keep your pressure soft, as this layer will be blended in the next step.
Step 3: Blend Early Layers with Mineral Spirits
Dip a soft paintbrush in mineral spirits and gently brush over your first layer. This softens pencil marks, blends the colors together, and creates a smooth, paint-like surface. Blending early allows your later layers to mix naturally without losing vibrancy.
Step 4: Build Mid-Layers for Depth and Variation
Gradually layer additional colors to introduce shadows, highlights, and subtle variations. Mix unexpected colors—like purple or blue in shadowed fur—to add richness. Use directional strokes that follow the natural texture of fur, feathers, or scales. This stage is where your variety of colors really brings life to the drawing.
Step 5: Add Final Layers of Detail
Once the mid-layers are established, switch to fine strokes and precise colors for details:
Individual hairs or feather patterns
Facial features like eyes, beaks, or whiskers
Subtle highlights and dark accents
At this stage, your palette is fully in use. Layering multiple colors in small areas creates depth, richness, and realism.
Step 6: Final Blending and Touches
Use mineral spirits sparingly for a gentle final blend if needed. Then, add small highlights with a white or light-colored pencil. Step back and admire how color variety, gradual layering, and blending work together to make your wildlife drawing pop.