How to draw for beginners
Step 1: Choose a Simple Reference
Pick a clear photo of an animal with good lighting and minimal background. Calm poses and simple markings are ideal when you’re starting out.

Step 2: Create a Light Trace
Lightly trace the main outlines of the animal onto your paper using graphite or a light-colored pencil. Keep the lines very faint—they should act as a guide, not a final outline.
Step 3: First Color Layer — Keep It Soft
Begin with very light pressure and block in the main colors of the animal. Don’t add details yet. This first layer is only about placing color and getting comfortable with the pencils.
Step 4: Build Color in Layers
Gradually add more layers, working from light to dark. Use gentle, directional strokes that follow the natural flow of fur or feathers. Take your time and let the colors slowly build depth.
Step 5: Add Simple Shading
Choose one or two darker colors to add soft shadows. Place them where the body curves or overlaps. This adds form without making the drawing feel complicated.
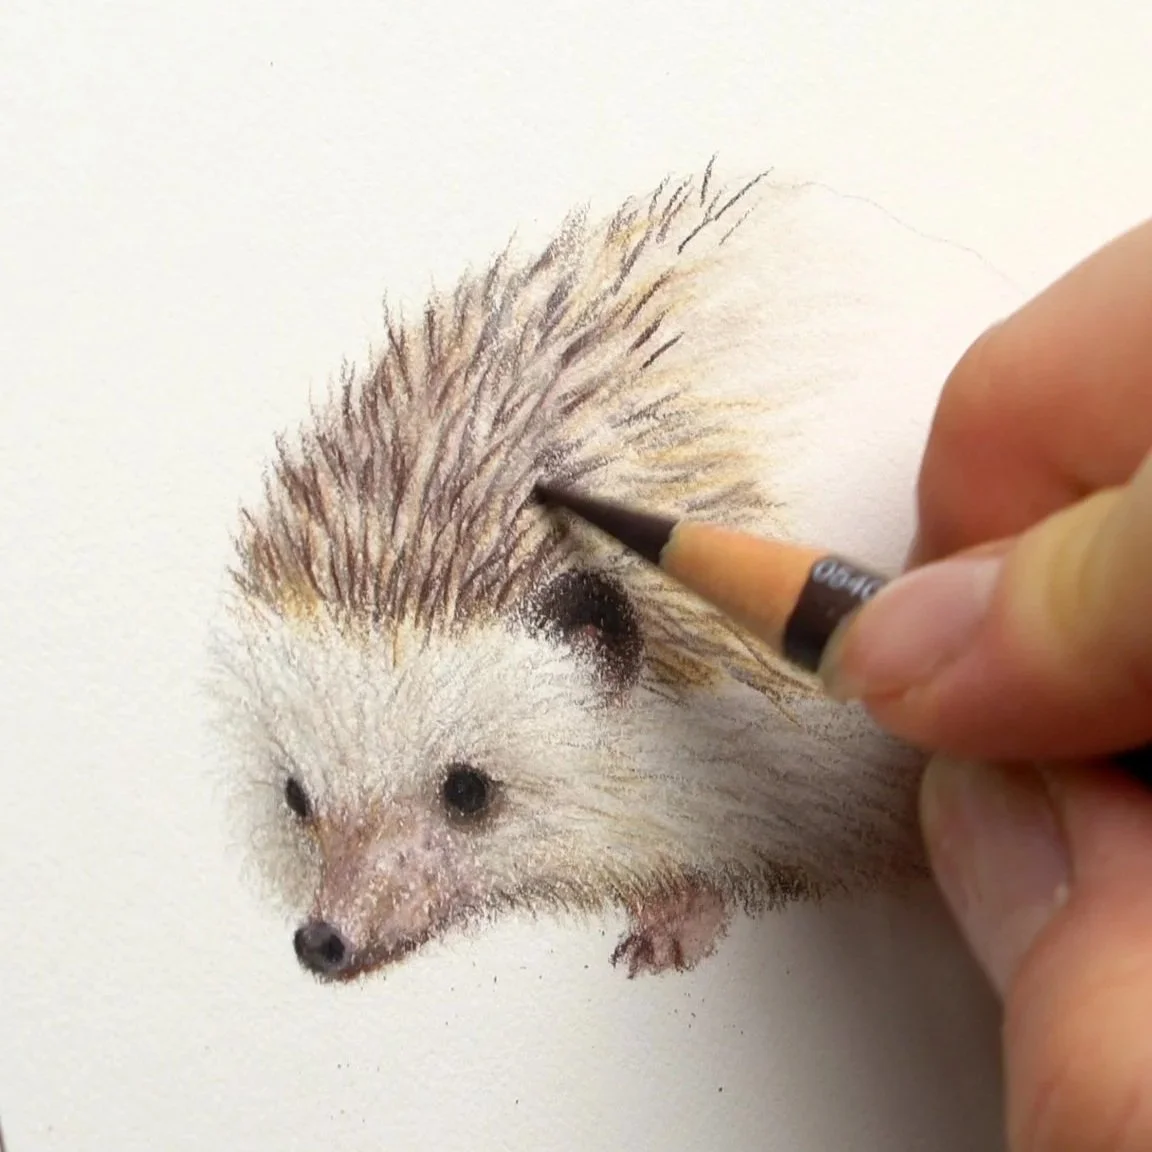
Step 6: Add Details Last
Once your colors are built up, begin adding small details like eyes, whiskers, or texture. Use slightly more pressure and sharper pencils only in these final layers.
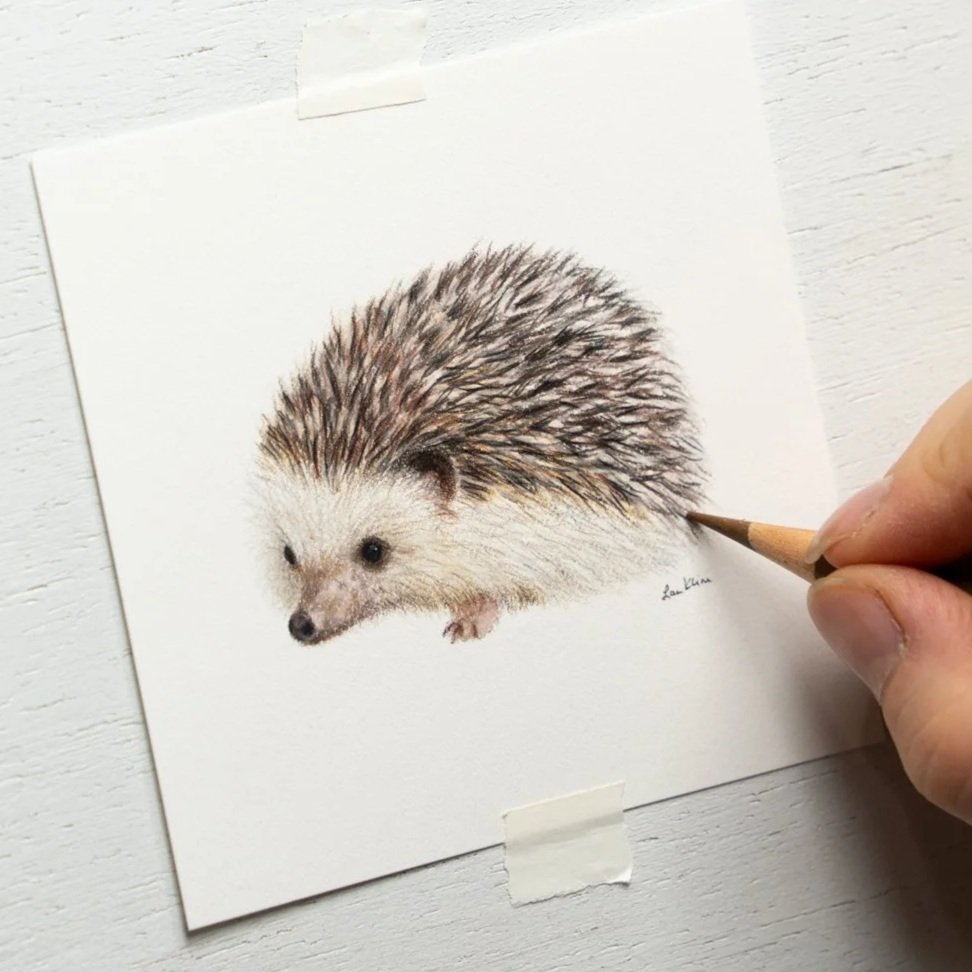
Step 7: Final Touches
Step back, soften any harsh edges with light layering, and decide when to stop. A finished drawing doesn’t need to be perfect—it just needs to feel complete to you.
Beginner Tool Tips
These tools are optional, but they can make the process easier as you gain confidence:
Mineral spirits: Gently blend early color layers with a soft paintbrush for a smooth, paint-like base.
Electric eraser: Lift color to create highlights or clean edges without damaging the paper.
Slice tool: Carefully scratch in fine details like whiskers or flyaway hairs at the very end.
Using these tools thoughtfully can help beginners achieve cleaner blends and finer details—without adding pressure to the process.