How to draw curly fur
Let’s begin with the misconception that all types of fur are created equal. If you are a female who has talked to other females, you would know that hair is not treated the same. It is a similar situation with drawing animal fur.
Drawing curly fur (no matter what color it is) is rather difficult. But here are some helpful tips to ease your concerns!

Start with a nice, light layer using lighter colors. Draw in the same direction as the fur.
I prefer Caran d’Ache Luminance as they are a wax base, this provides a nice buttery smooth layer

Use a blend of different brand pencils going from light to dark. Remember that pencils are different than paints, they don’t like white on top of darks.
A trick to use is avoid the highlights until it’s your last step.
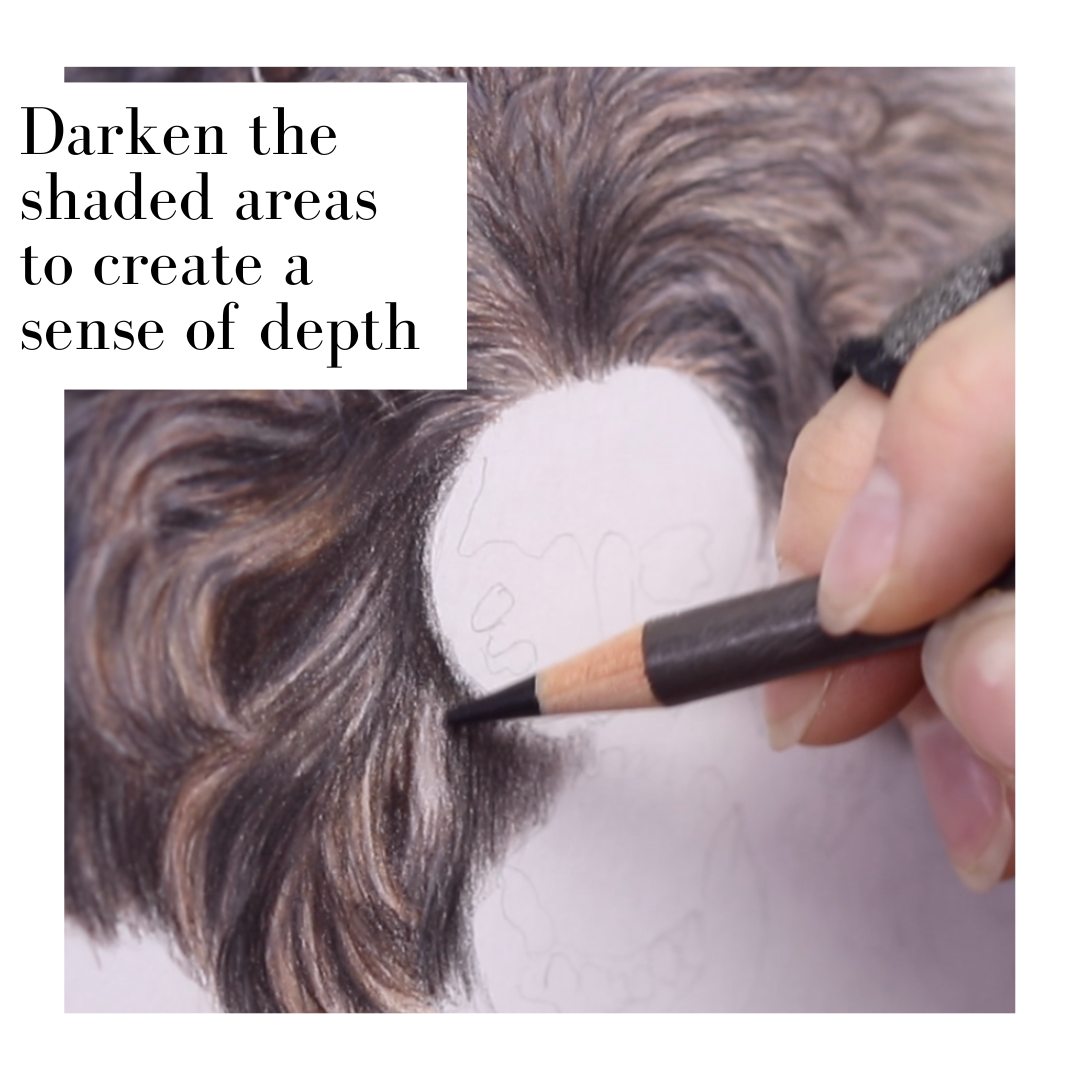
Darken the lowlights with heavier pressure and darker colors. I like to use dark sepia as a replacement for black.
Black can look too flat so use it sparingly.
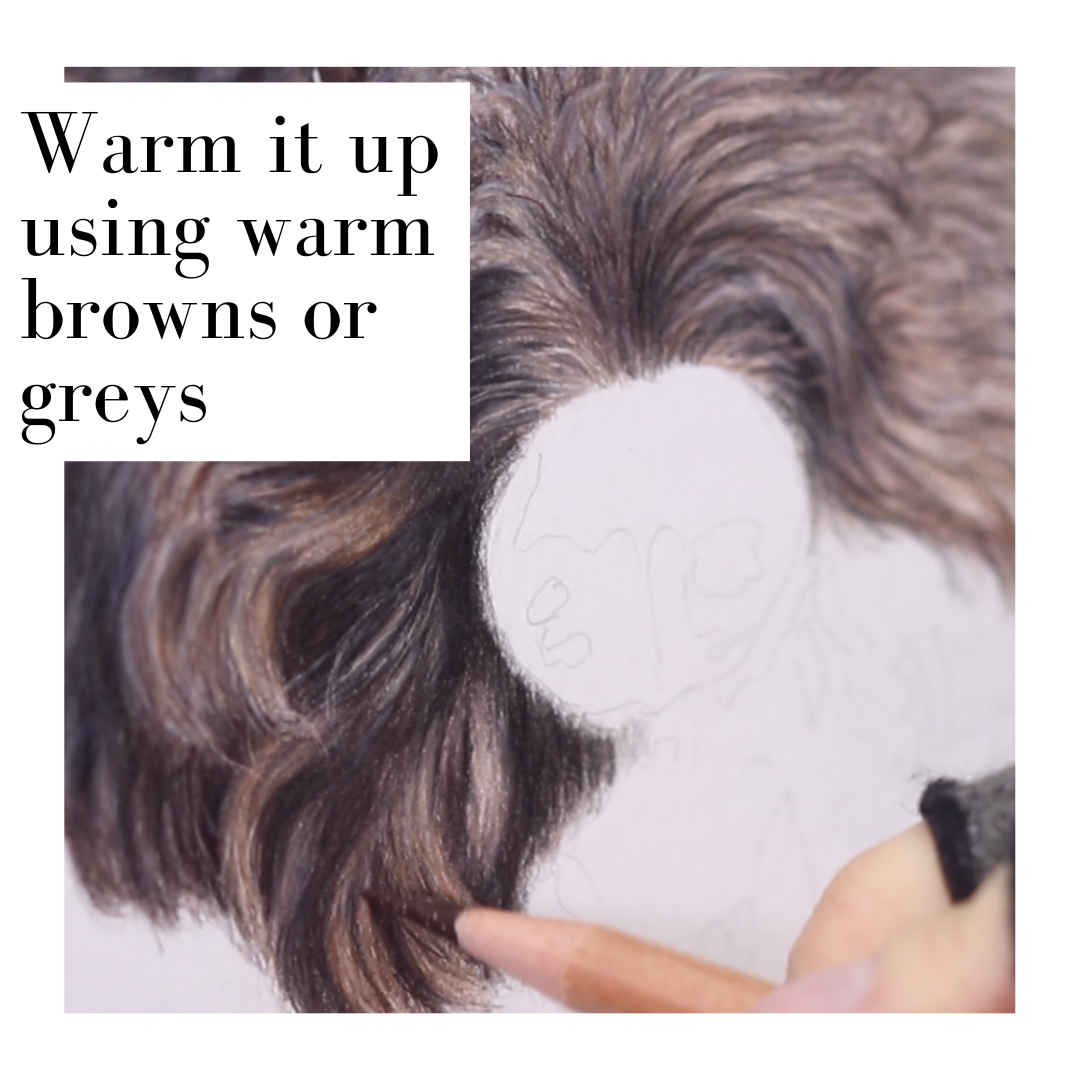
Warm tones and cool tones are vital for all portraits. Use cool tones in areas that look more cool such as highlights or midtones. Then use warm tones more in the shaded areas.
What it that? Warm tones are red, orange, yellow and cool tones are blue, purple, green.
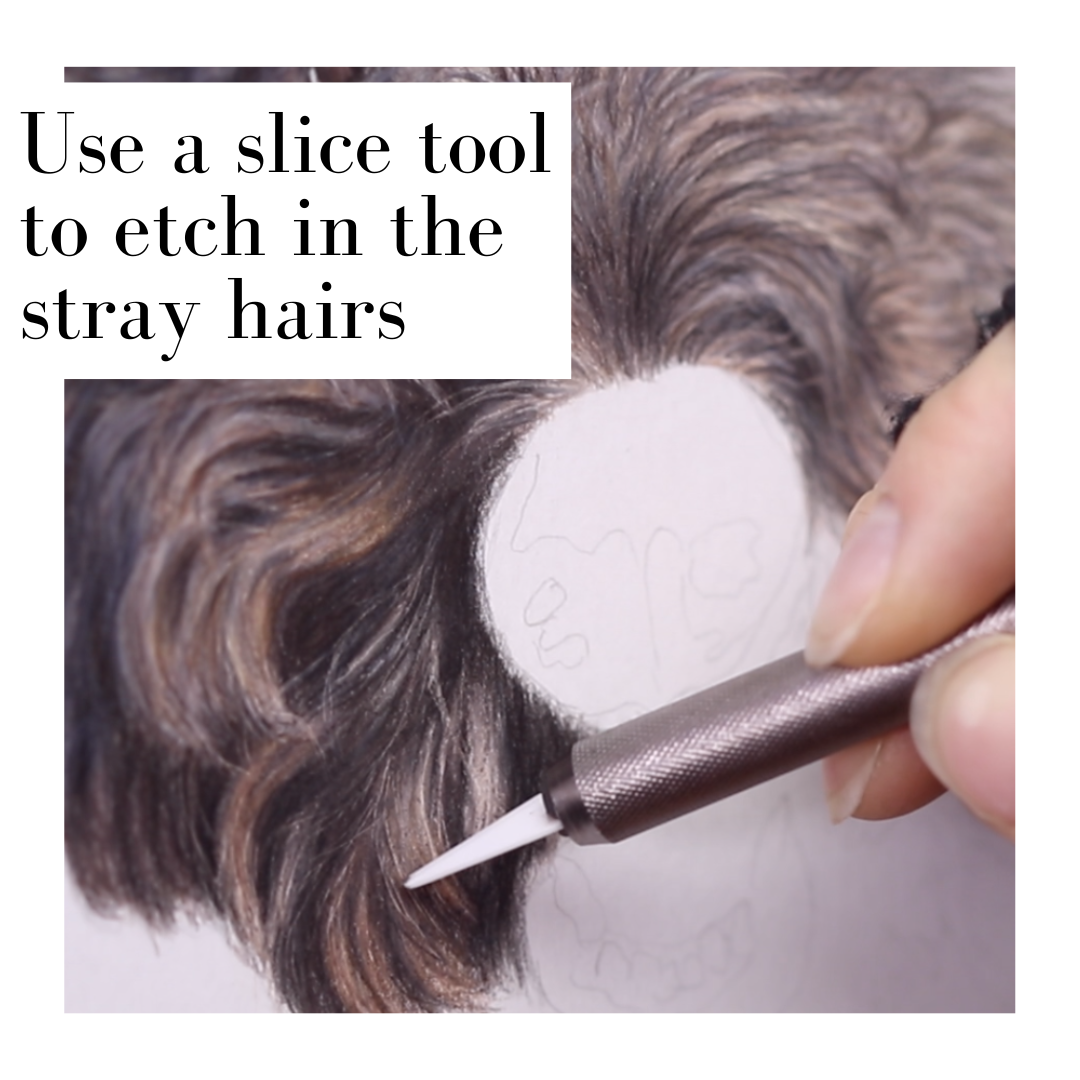
You can also use a Slice Tool to carefully etch detail for stray hairs, highlights, and more.
You must have enough layers for this tool to work. Apply light pressure in the beginning and build up the pressure after a few layers. This will make the slice tool work more efficiently.

Use a light pencil such as light blue, ivory, white, etc. to blend the highlights into the midtones.
I hope this blog was helpful!
Feel free to fill out the survey below. This will help me better understand what kind of content to blog in the future.
Thank you! :)